Tutorial: Create a Weather and News Reader App with Ionic and Drupal

Article content
During the Christmas break, I decided to give myself a challenge: increase my knowledge of app building, AngularJS, and Ionic Framework. Since I didn't know very much about any of them, that was the easy part. I then gave myself a second task - build a hybrid app for my local town that would give us home, current weather, and news tabs, with all content being derived from online data sources.
The tutorials I was reading showed how to do one thing for each app. Hopefully this one will show you how to create an app that does more than one thing and then you can extend it further yourself.
You will need:
- Drupal with a view created to list some content (I'm using the articles list from my personal blog)
- Ionic Framework (details on how to install Ionic Framework are here)
- Views Datasource module (it's the views_json submodule of this that we'll be using). You might also need the CORS module (if your server is not allowing your app to pull data from it - more details later).
- To suspend your design thoughts (this app is ugly, but I'm only interested in functionality for this tutorial)
The Drupal Part
- Download views_datasource module.
- Enable views_json module from this package.
- Create a view to list some content.
- Make sure you are using 'fields' rather than 'rendered entity'.
- Make sure you give each field a title - this will be used later on when drilling down through the JSON output.
- Create a page display setting 'format' to 'JSON data document' (I left all the options as default, you can play around with them if you wish)
- You should get a JSON output.
The Ionic Part
I'm presuming you have installed and set up Ionic following their 'Getting Started' guidelines, and have set up a 'Tabs' app.
Creating New Tabs
To add a new tab, go to your www folder and find the tabs.html file which is inside the templates folder. To add a new tab you can copy/paste from one of the existing ones. I added:
<!-- Weather Tab -->
  <ion-tab title="Weather" icon="icon ion-cloud" href="#/tab/weather">
    <ion-nav-view name="tab-weather"></ion-nav-view>
  </ion-tab>

<!-- News Tab -->
  <ion-tab title="News" icon="icon ion-social-rss" href="#/tab/news">
    <ion-nav-view name="tab-news"></ion-nav-view>
  </ion-tab>

Notice here how the icons are chosen by icon="" attributes. You can find a list of all the available icons at the Ionicon Cheetsheet. The darkened tab is the currently active one.
The State of your Tabs!
Next we need to add the 'states' that tabs can have, including what template will be used to display the content for each. To do so, you need to navigate to your js folder inside www. Find the app.js file and edit this to add new states. In my case I added states for weather and news, like so:
    .state('tab.news', {
      url: '/news',
      views: {
        'tab-news': {
          templateUrl: 'templates/tab-news.html',
          controller: 'NewsCtrl'
        }
      }
    })
    .state('tab.weather', {
      url: '/weather',
      views: {
        'tab-weather': {
          templateUrl: 'templates/tab-weather.html',
          controller: 'WeatherCtrl'
        }
      }
    })
It should be quite self-explanatory what is going on here. We have set a state for the tab, given it a URl and then told our app what template to use and what controller will set its functions. Make sure you create .html templates to match what you have set here.
The Weather Part
Next I set about actually grabbing the data for the current weather in my local town and adding it as a service in my services.js file in www/js. To do this, I am using forecast.io. (You'll have to sign up for an account to get an API key and then replace YOURAPIKEY in each place you see it in the following code:
(function () {
  'use strict';

  var forecastioWeather = ['$q', '$resource', '$http', 'YOURAPIKEY',
    function($q, $resource, $http, YOURAPIKEY) {
    var url = 'https://api.forecast.io/forecast/' + YOURAPIKEY + '/';

    var weatherResource = $resource(url, {
      callback: 'JSON_CALLBACK',
    }, {
      get: {
        method: 'JSONP'
      }
    });

    return {
      //getAtLocation: function(lat, lng) {
      getCurrentWeather: function(lat, lng) {
        return $http.jsonp(url + lat + ',' + lng + '?callback=JSON_CALLBACK&units=si');
      }
    };
  }];

  angular.module('starter.services', ['ngResource'])

  .factory('DataStore', function() {
      //create datastore with default values
      var DataStore = {
          city:       'Portumna',
          latitude:   53.0905,
          longitude:  -8.2337 };

      DataStore.setCity = function (value) {
         DataStore.city = value;
      };

      DataStore.setLatitude = function (value) {
         DataStore.longitude = value;
      };

      DataStore.setLongitude = function (value) {
         DataStore.longitude = value;
      };

      return DataStore;
  })
  .factory('Weather', forecastioWeather);
}());
Note above the '&units=si" addition in the JSON_CALLBACK. This sets the temperature to Celsius. Leave that out if you want to use Fahrenheit.
You will then need to add a new controller in your www/js/controllers.js file. Mine for the weather section looks like this (remember, replace YOURAPIKEY with your API key):
.constant('YOURAPIKEY', 'YOURAPIKEY')
.controller('WeatherCtrl', function($scope,$state,Weather,DataStore) {
  //read default settings into scope
  console.log('inside weather');
  $scope.city  = DataStore.city;
  var latitude  = DataStore.latitude;
  var longitude = DataStore.longitude;

  //call getCurrentWeather method in factory ‘Weather’
  Weather.getCurrentWeather(latitude,longitude).then(function(resp) {
    $scope.current = resp.data;
    console.log('GOT CURRENT', $scope.current);
    //debugger;
  }, function(error) {
    alert('Unable to get current conditions');
    console.error(error);
  });
})
Next in my tab-weather.html file (in www/templates) I added the following code to display the weather:
<ion-view title="Weather">
  <ion-content class="has-header">
    <!-- Display current location's weather data-->
    <h3>Welcome to {{city}}</h3>
    <h4>Current Weather:</h4>
      <p><weather-icon icon="current.icon" id="current-icon"></weather-icon> {{current.currently.summary}}</p>
    <h4>Temperature:</h4>
      <p>{{current.currently.temperature}} °C</p>
    <h4>Coming Days:</h4>
      <p>{{current.daily.summary}}</p>
  </ion-content>
</ion-view>
The (unstyled) finished product looks like this:
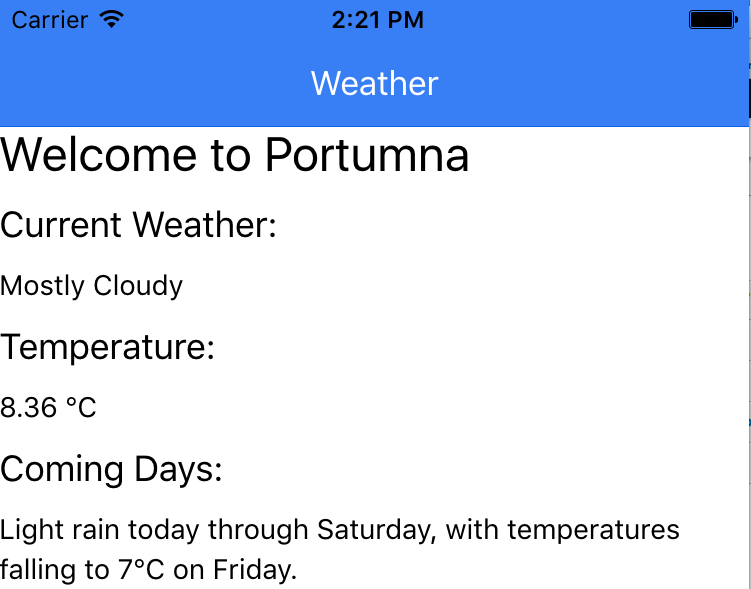
This weather section was created with some help from this BinPress tutorial.
The News Reader Part
We have already added a news tab 'state' in app.js. We now need to add a new controller for it in controllers.js. Here's what I have:
.controller('NewsCtrl', function($scope, $http) {
  $scope.init = function() {
    $http.get("http://www.mark.ie/articles/feed/json")
      .success(function(data) {
          $scope.nodes = data.nodes;
          $scope.browse = function(v) {
            window.open(v, "_system", "location=yes");
          };
          window.localStorage["nodes"] = JSON.stringify(data.nodes);
      })
      .error(function(data) {
          console.log("ERROR: " + data);
          if(window.localStorage["nodes"] !== undefined) {
            $scope.entries = JSON.parse(window.localStorage["nodes"]);
          }
      });
  };
})
$score and $http are both AngularJS objects. In $scope we initialise a function to 'GET' a $http object, the URL of which is the JSON output of the articles on my personal blog. $http allows two outcomes - success and error. Since 'nodes' is our default 'Root object name' in the views formatter in Drupal, we set $scope.nodes to data.nodes.
To ensure links are opened in the inAppBrowser, we simply install that Cordova plugin (Ionic is built on Cordova) by running this command from within our project:
cordova plugin add https://git-wip-us.apache.org/repos/asf/cordova-plugin-inappbrowser.git
Once this far, we can add the tab-news.html template. In that I have the following:
<ion-view title="Portumna News">
  <ion-content ng-controller="NewsCtrl" ng-init="init()" class="has-header">
    <h3>Welcome to Portumna News</h3>
    <div class="list">
      <a ng-repeat="item in nodes" class="item" ng-click="browse(item.node.link)">
        <b>{{item.node.title}}</b><br>
        <span ng-bind-html="item.node.summary"></span>
      </a>
    </div>
  </ion-content>
</ion-view>
To loop through items in our list we perform an Angular 'repeat' using a key/value setup (in PHP this would be foreach($key as $value)). In the above example I used the word 'item' for my key in the $scope.nodes object, then telling the app that when we click a link, we browse to 'item.node.link' (which is a URL we have within our view in Drupal).
We then create JSON objects from the returned data using the titles that we gave each of the fields in above when creating the views_json view. I called my title field 'title' (no quotation marks) and that allows me to drilldown to node.title; the body field is called node.summary.
The unstyled version of this section looks like this:
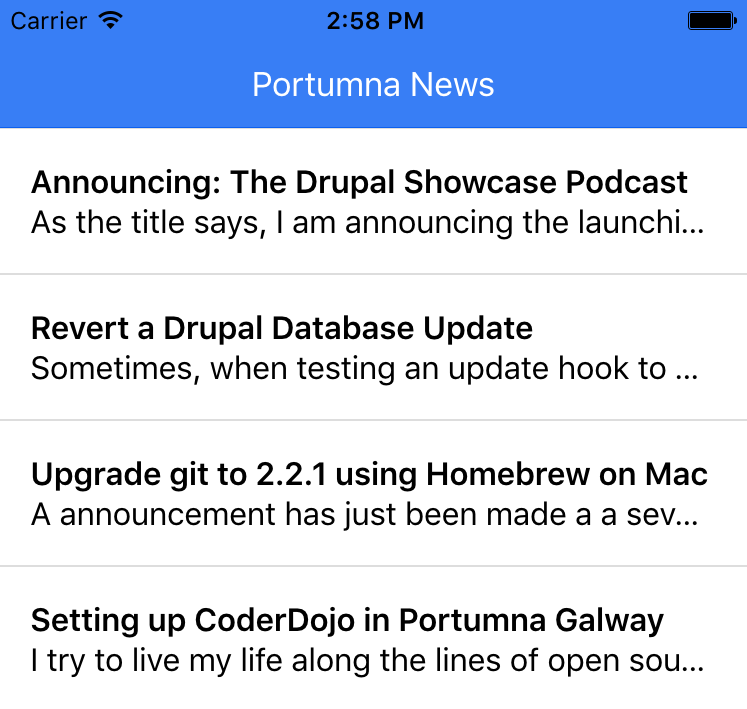
This section of the tutorial is adapted from Nic Raboy's blog.
If you have any problem seeing your news posts, it may be because of a CORS issue (check the console warnings tab in Firefox). If this is the case, you will need to modify your .htaccess file or add a module such as the Drupal CORS module.
The code used in this app is available on GitHub.
Given that this was my first foray into app building, I'm sure you have plenty of tips for me. In that case, please add them in the comments. Thanks.
Related Blog Posts
-
-
 21 June 2024
Starshot to take Drupal to infinity and beyond
-
 7 March 2024
Annertech is a Drupal Certified Platinum Partner