Editorial workflows in LocalGov Drupal: secure, scalable and council-ready

Tony is a Drupal frontend specialist. He brings many years of experience in balancing design, performance, accessibility and usability to realise objectives and bring user experiences to life.

Managing a council website is a high-stakes balancing act. From updating council tax rates to announcing urgent service changes, every word must be accurate, accessible and approved. One wrong digit or an accidental “publish” on a sensitive draft can lead to more than just a typo; it can lead to a loss of public trust or even legal issues.
The content challenge
Councils handle an incredible volume of complex, time-sensitive information. Without a rigid structure, content risks inconsistent quality, governance gaps and the constant threat of accidental publishing. When multiple departments are contributing to the same site, the potential for delays or "content rot" grows exponentially.
The solution isn't just better training; it's better tools. That is where LocalGov Drupal (LGD) comes in, offering built-in editorial workflows that provide total clarity and control over every piece of content before it ever hits the public eye.
Features that empower your team
Unlike a standard blog platform where “save” often means “live”, LocalGov Drupal is built for the rigours of the public sector.
- Not enabled by default: This gives councils ultimate control. You choose when to enable the LocalGov Workflows module to unlock its full governance toolset.
- Defined workflow states: Content follows a logical path: Draft → Needs Review → Published → Archived. This prevents accidental publishing and ensures every page follows due process.

- Editorial roles and permissions: Roles like Contributor, Author and Editor have tailored permissions. For example, a Contributor can draft content but lacks the button to make it live – that power is reserved for Editors.
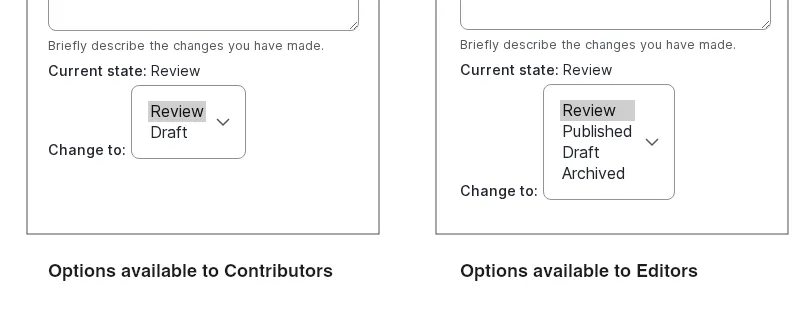
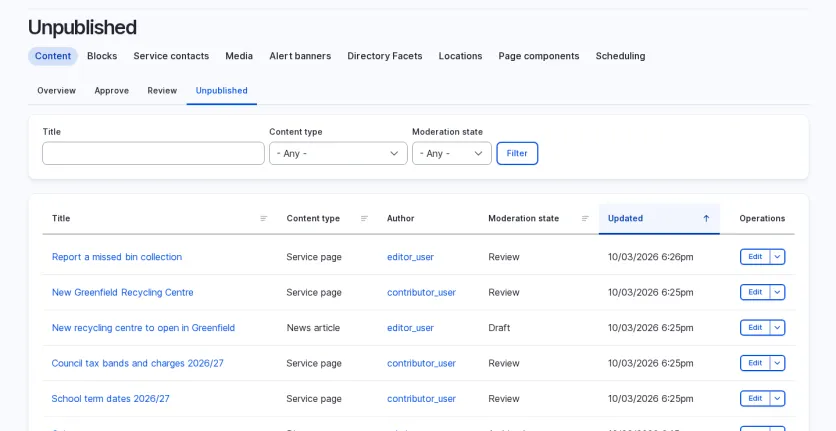
- Approvals dashboard: Moderators get a central, bird's-eye view of all content sitting in “Needs Review”, making it impossible for urgent updates to get lost in the shuffle.
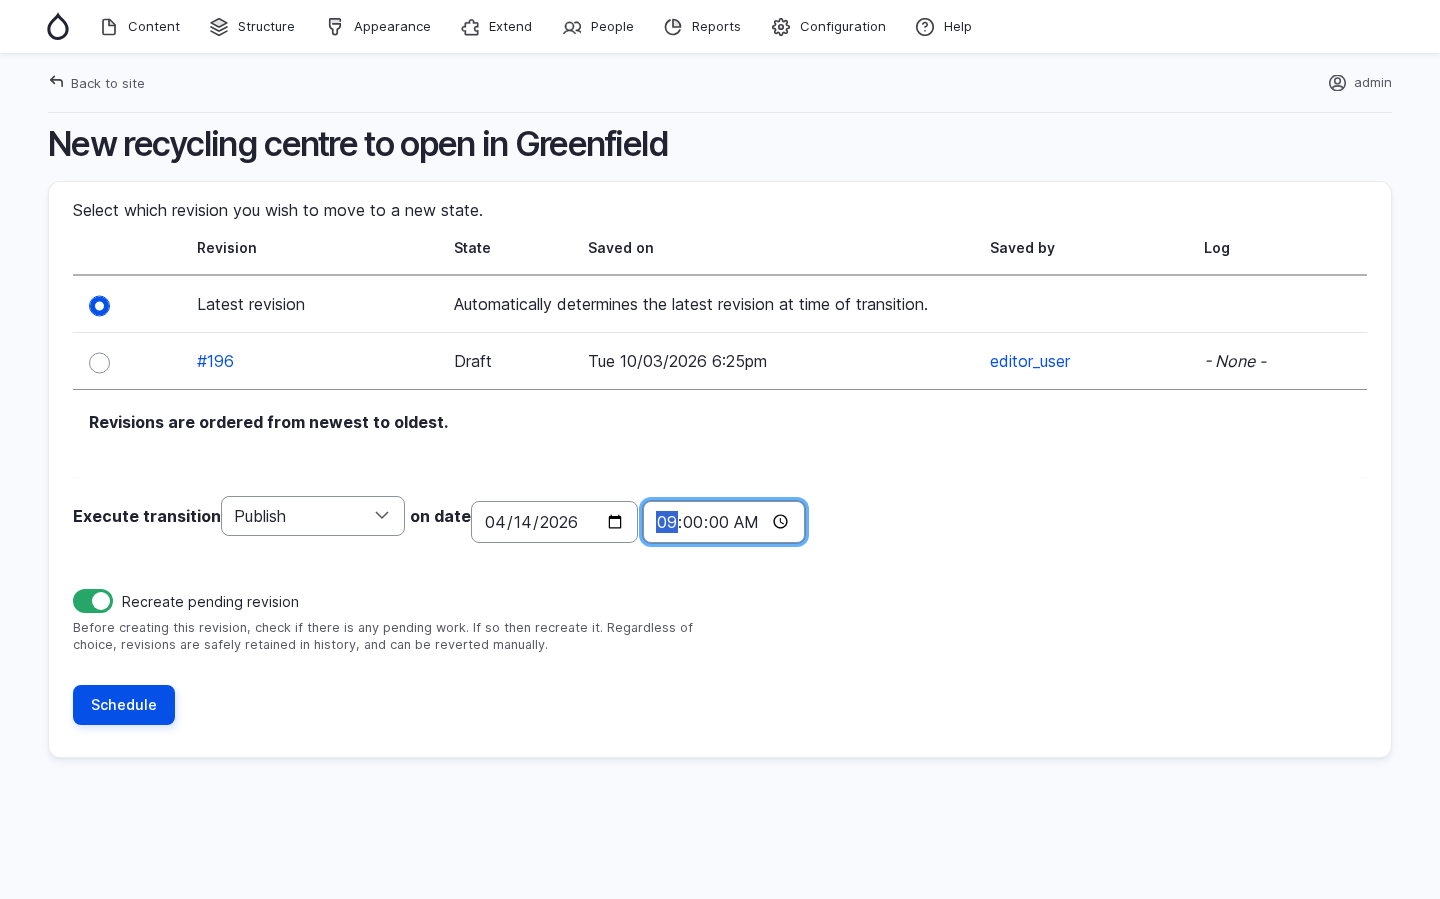
- Scheduled publishing: Use Scheduled Transitions to time releases precisely. You can set a news article to go live at 9am on a Monday and automatically archive it two months later.
- Review date reminders: Fight “content rot” by setting review dates. If a page needs an annual check, it will automatically reappear in the “Needs Review” queue when the time is up.
A real-world scenario: launching a recycling centre
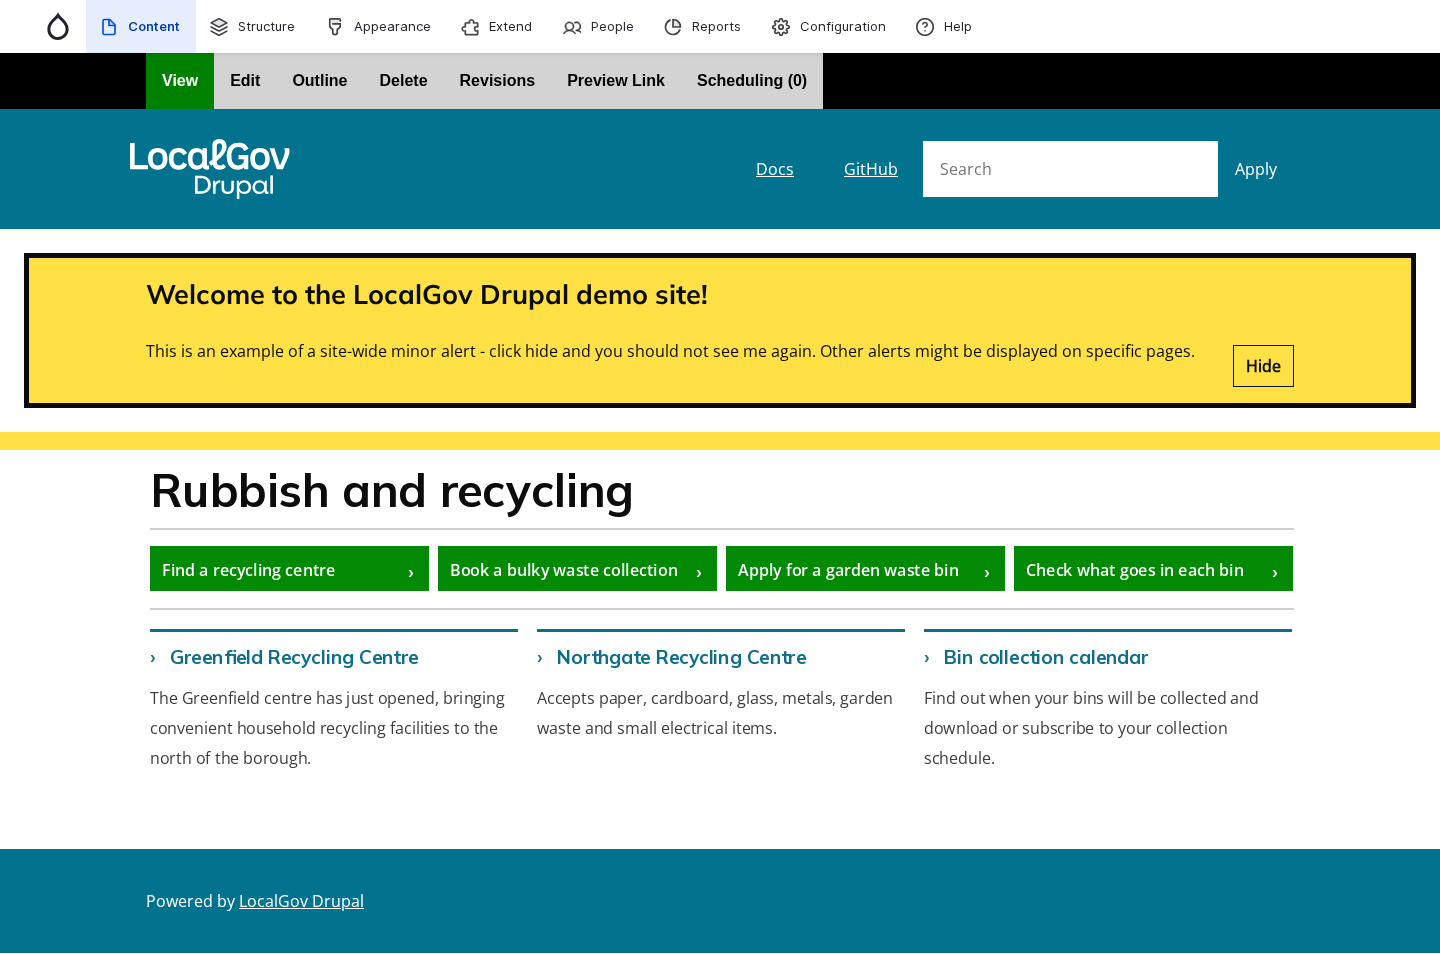
To see how this works in practice, let’s look at a common council task: launching a new recycling centre. This requires a new service page and an update to the main “Rubbish and Recycling” overview.
The preparation
Before touching the CMS, the comms team liaises with operations for the location, materials list and opening hours. Crucial checks are performed to verify image rights and the accuracy of the operating hours against the official brief.
Step 1: Create content
A Contributor drafts the new page. Because they are in the Draft state, their work is safely isolated from the live site.
Step 2: Submit for review
Once ready, the Contributor changes the status to Needs Review. The Editor is automatically alerted via their dashboard.
Step 3: Update related content
The Editor creates a new draft revision of the main Rubbish and Recycling page to add a link to the new centre. Residents still see the current published page while the update is being prepared in the background.
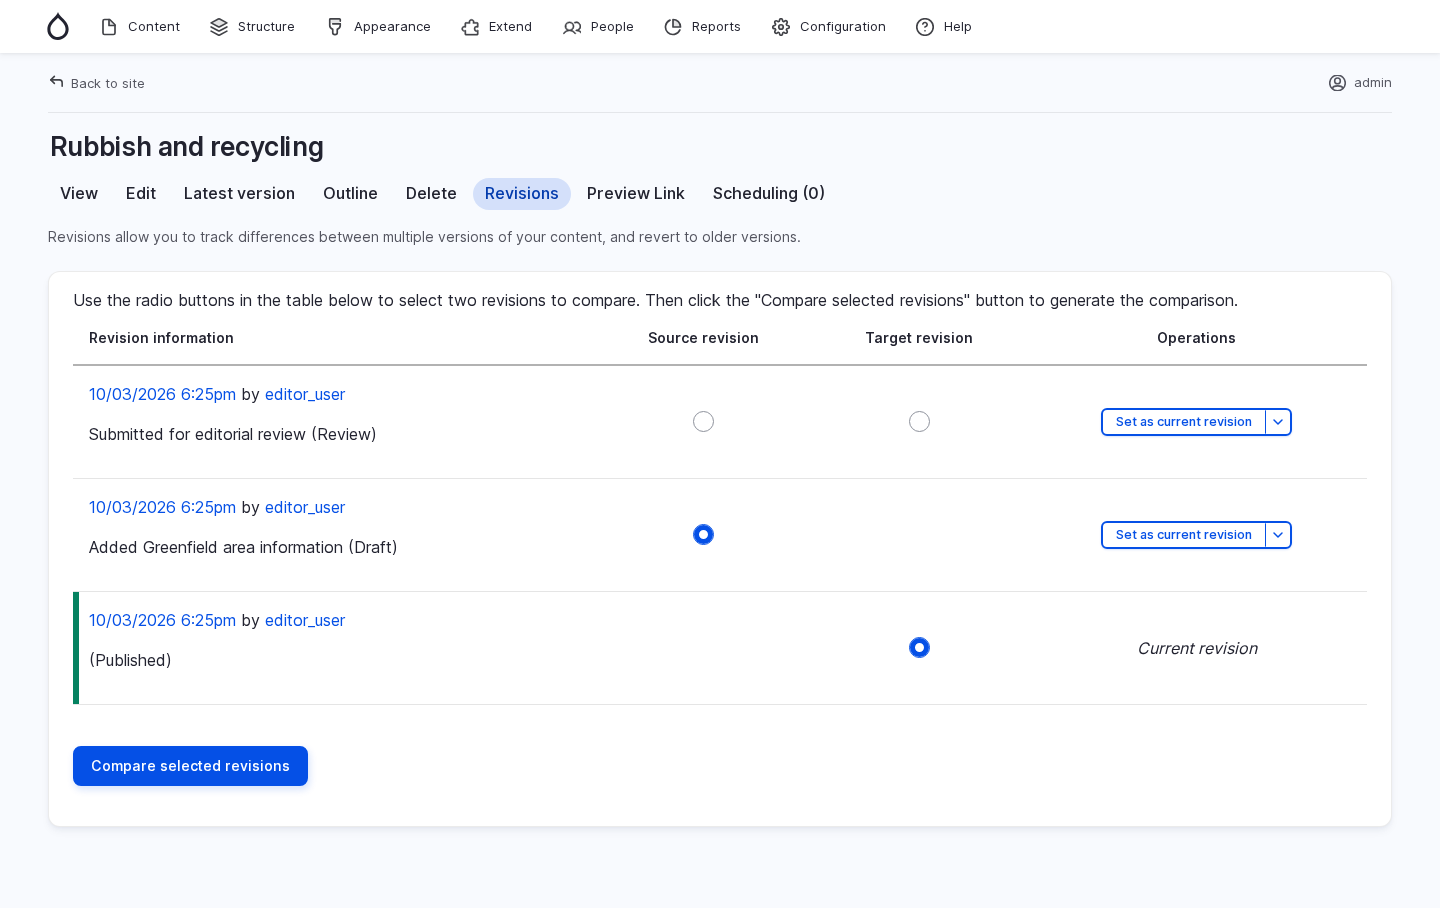
Step 4: Review and schedule
The Editor checks both pages for accessibility and accuracy and notifies the relevant department or subject matter experts for approval.
Step 5: Department approval
The department staff can either log into the site to review the content, or the Editor can share a preview link with them allowing them to access the content without needing to log in. Assuming it is approved, the content can then be scheduled for publication.
Step 6: Scheduling to publish
They schedule the news article and the page updates to publish simultaneously at 9am on launch day.
Step 7: Go live
The scheduled transition executes automatically. At 9am, the public sees the news, the new page and the updated overview all at once. No manual “click” is required on the morning of the launch.
Why this matters for your council
- Security and control: Only designated staff can approve content, drastically reducing the risk of unauthorised or accidental publishing.
- Scale with clarity: You can support dozens of editors across different teams without creating a “Wild West” environment.
- Content governance: Review reminders foster a culture of accountability, ensuring your site stays accurate year after year.
- Reliable operations: Scheduling takes the stress out of go-live dates, allowing teams to work ahead and enjoy their weekends.
Activating and customising your workflow
While the default states and roles are excellent, they are flexible and can be adapted and tailored to suit your specific council needs.
For example, for Luton Borough Council, we made a viewer only role so that people can login and see the unpublished content.
- Adding workflow states: If your council requires an extra step, like Legal Review or Comms Sign-off, you can easily add these to match your internal approval chain.
- Custom roles: You can create granular roles, such as a Service Expert who is only allowed to edit content within a specific section of the site.
- Activation and support: Workflows are typically enabled during the initial project build. However, they can be activated to existing sites followed by bespoke training to get your team up to speed.
Using workflows in practice: our top tips
- Start with defaults: Don't overcomplicate things on day one. Stick to the Draft → Review → Published flow until you find a specific reason to change it.
- Use scheduling: Reduce manual bottlenecks by scheduling both the release and the archiving of seasonal content.
- Establish ownership: Assign content owners to specific sections and set review routines to avoid stale information.
- Monitor and refine: Check your dashboard regularly. If content is getting stuck in Review it might be time to refine your roles or add more moderators.
Conclusion
LocalGov Drupal workflows move your council from risky, manual processes to secure, systematic governance. It provides the clarity, control and confidence your team needs to ensure every resident receives accurate, compliant information.
Tony is a Drupal frontend specialist. He brings many years of experience in balancing design, performance, accessibility and usability to realise objectives and bring user experiences to life.
Related Blog Posts
-
-
 23 September 2026
LGD helps councils build better sites at lower cost
-

Interested in seeing LGD workflows in action?
Would you like to book a demo for, or explore how we can set these workflows up for your current site?